Create a SAP PI Test case for the migration
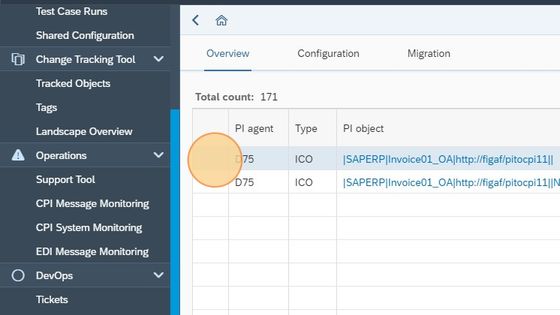
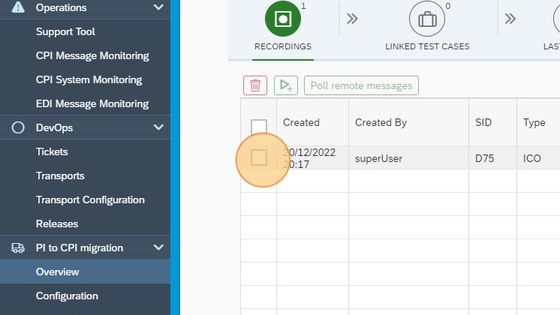
2. Select the PI object you want to base your recording on.
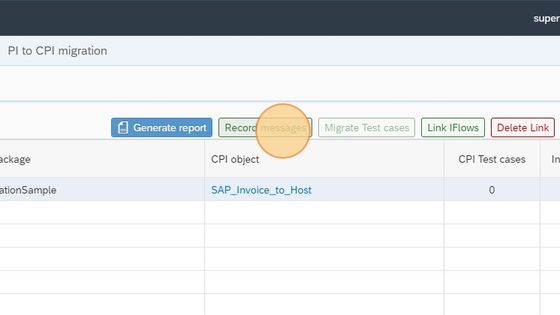
3. Click "Record messages"
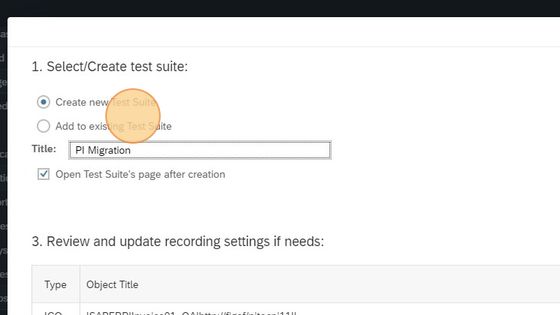
4. Type "PI Migration"
5. In the Test suite enter a name for the test suite. For example, "PI Migration Invoices".
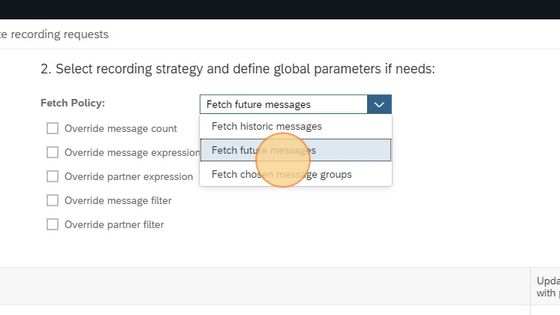
6. The Tool support different options to fetch messages. * Fetch historic messages: Allows you to specify messages that already has been processed. This is best modules and logging settings is correct. * Fetch future messages: If you need to make changes to the logging settings. Then the system will fetch the next messages that is processed in the system. * Fetch chosen messages groups: Allows you to fetch some specific messages. For now we will use future messages.
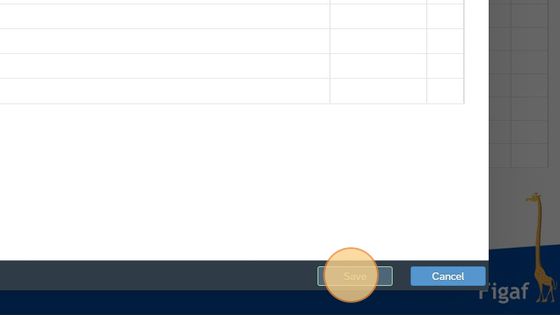
7. Click "Save" to create the recording.
8. Now you need to wait until the messages have been processed on the system. Once you expect they have been processed, you can start the polling. If you have historic messages you can try to poll messages already.
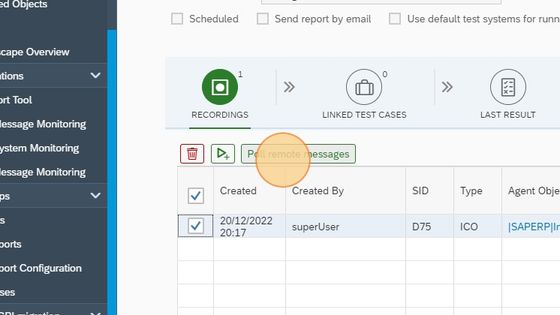
9. Click "Poll remote messages"
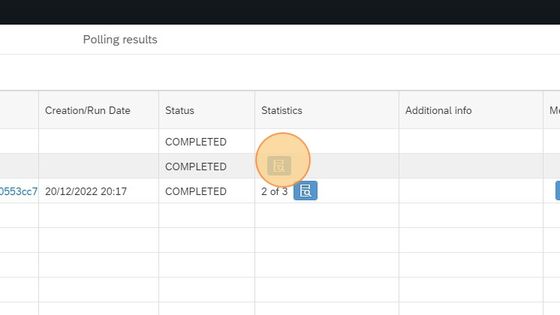
10. The overview of the polling can be seen here.
11. To see the details about the polling process, you can click the different message status information buttons.
12. Once you have seen everything and think it's okay, click "Close"
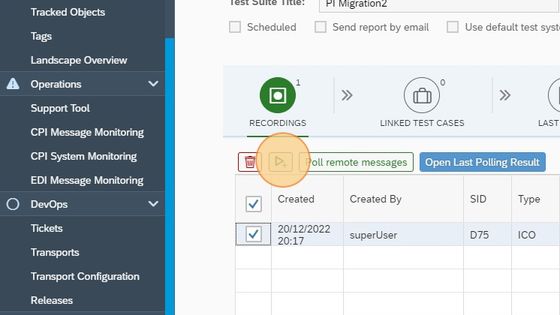
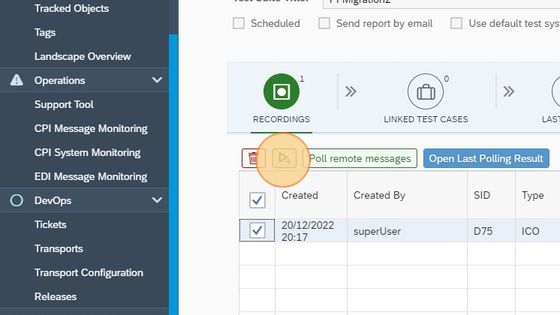
13. Now we can create the test case. We do this by selecting the line. And click the PlayPlus button.
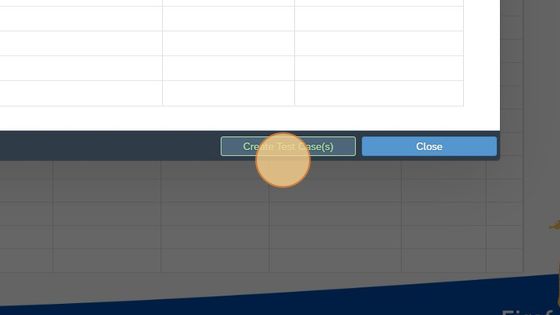
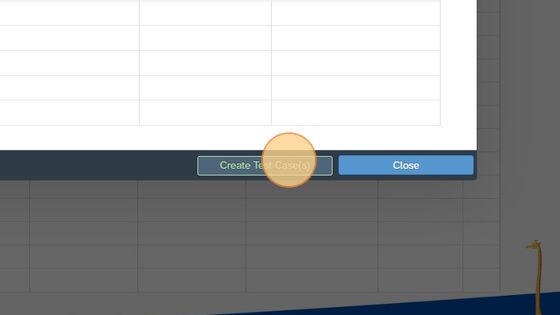
14. Click "Create Test Case(s)"
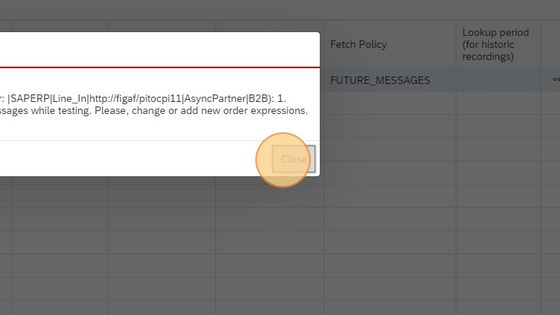
15. In most cases, this will work without any problems. In this case pictured, the problem is that we have a 1:Unbounred message split that produces multiply files for each message. We need to configure Figaf to find the problem.
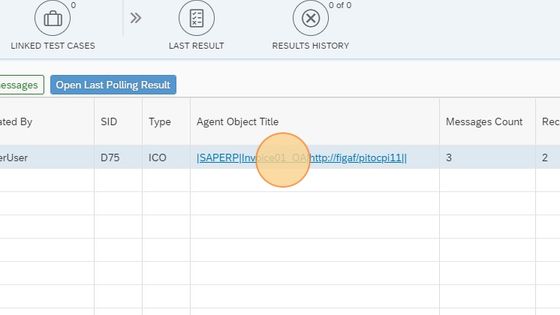
16. I know these messages have an element called ID that determines that the messages are different. To configure this we Click "|SAPERP|Invoice01_OA|http://figaf/pitocpi11||"
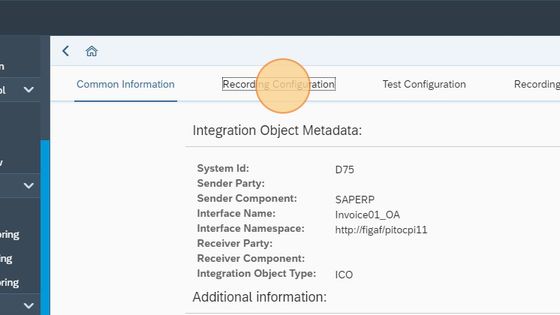
17. Click "Recording Configuration"
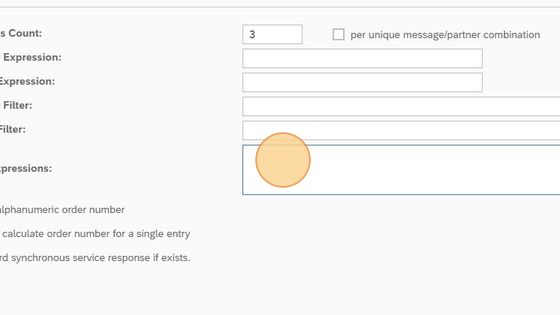
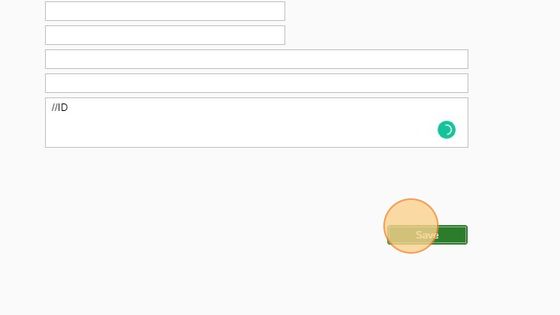
18. In the field Order Expression, we can insert an Xpath that shows the tool how to extract a value of the payload that can be used to determine which messages are different. We recommend that you use an XPath that always produces the same result. If the value is alphanumeric, select this checkbox below. We use "//ID" in this example
19. Click "Save"
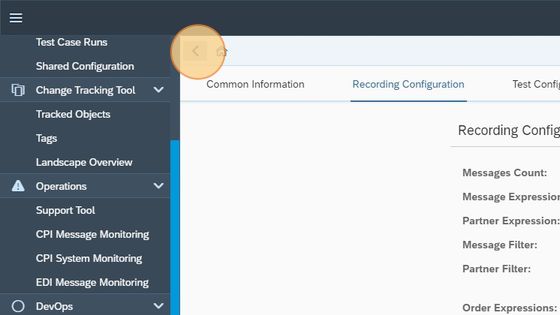
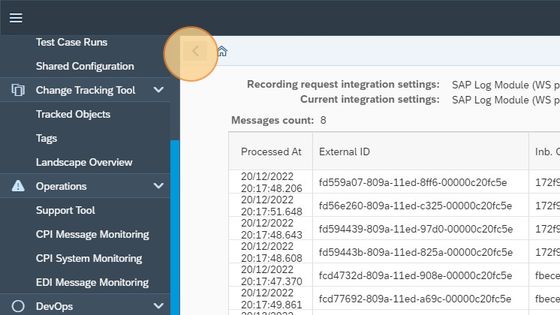
20. Navigate back to the test suite by pressing back two times or fine it from the menu.
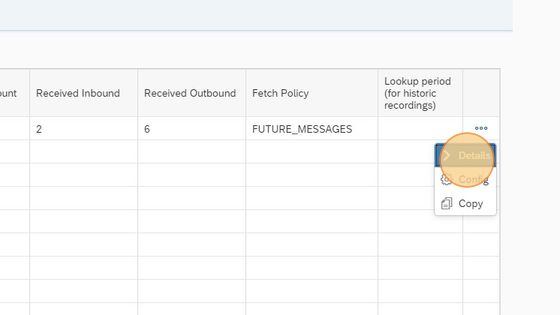
21. To investigate the messages, go to the "..." button and see the messages that has been processed.
22. Click "Details"
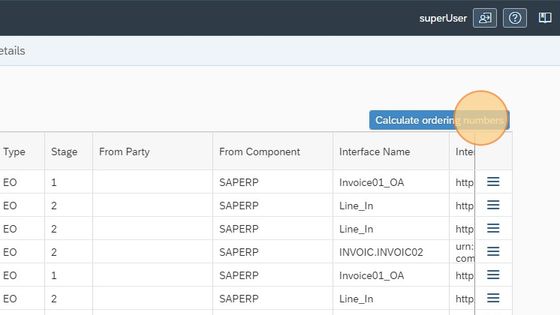
23. Click "Calculate ordering numbers". If you want to see the messages you can click the 3 vertical lines.
24. You can now see the Order has been updated.
25. Go back to the test case
26. Click the test case and press the PlayPlus button to create the test case.
27. Click "Create Test Case(s)"
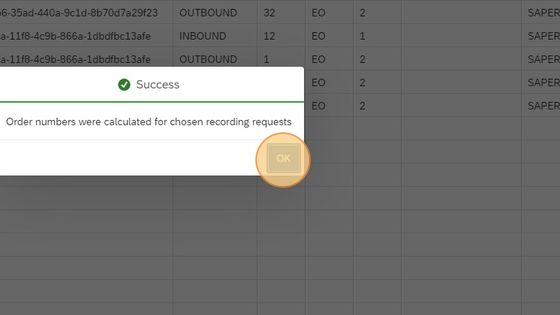
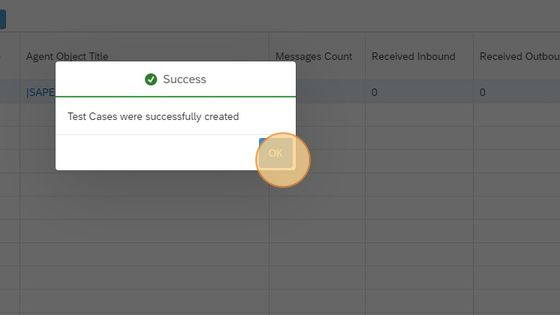
28. Click "OK"
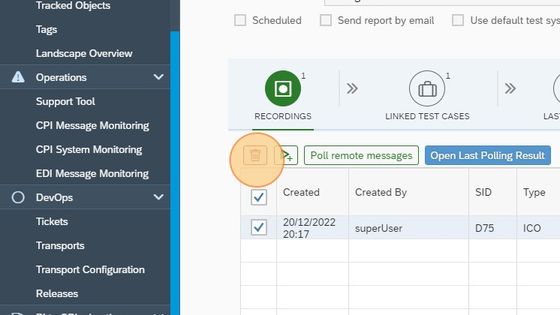
29. We generally don't want recording requests to be inactive where we are not expecting messages. In this case, we can select the line and delete the recording request. Then we will no longer expect messages for this sceario
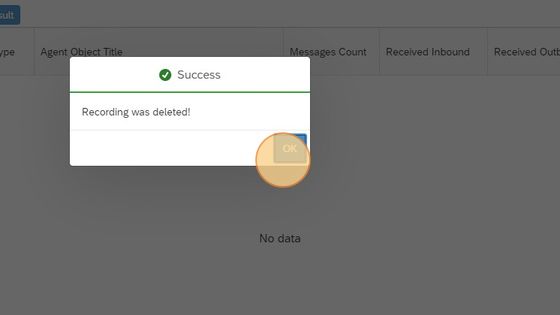
30. Click "OK"
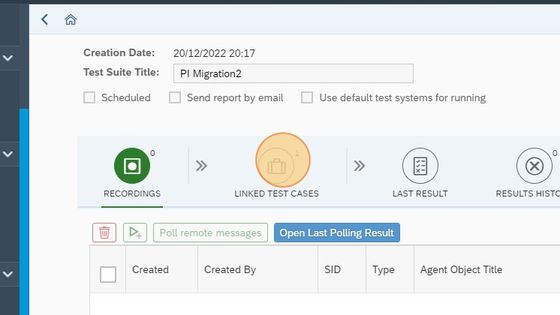
31. Now you can go to linked test cases. Where you will be able to see the test case that you have created on the line.
Related Articles
Migrate a SAP PI Test case to a Cloud Integration Test
You should have a PI Test case before starting 1. Go to your PI to CPI migration overview. And select the line with the PI object where you want to migrate. You will need to have migrated an object and a PI test case. 2. Click "Migrate Test cases" 3. ...Create a SAP PI to Integration Suite Migration
How do you setup the Figaf tool to handle your SAP PI/PO to Integration Suite. 1. Click "Overview" under the PI to CPI migration. 2. Click "Close" 3. On the configuration page select the PI systems you want to use as source 4. Then select the CI ...Create a SAP PI/PO Agent
An agent allows you to connect to a SAP system and work with it. 1. Go to your Figaf system. And select "Create Agent". Otherwise, you can find the access in the Menu Configuration - >Agents 2. Click "Step 2, Create Agent". 3. Click "Create Agent" 4. ...Guide Index
Installation Local installation of Figaf Install Figaf on server Configuration CPI Agent with s-user without Universal ID or Neo CPI with out s-user for CF Connect to Integration Suite PI Agent CPI DevOps Landscape creation Landscape evaluation ...Create a SAP Cloud Integration Agent
Here we will show you how to connect to SAP Cloud Integration system. You can try with your S-User to connect. If it fails there is another option with services keys and custom IDP see more here ...
