Migrate a SAP PI Test case to a Cloud Integration Test

2. Click "Migrate Test cases"

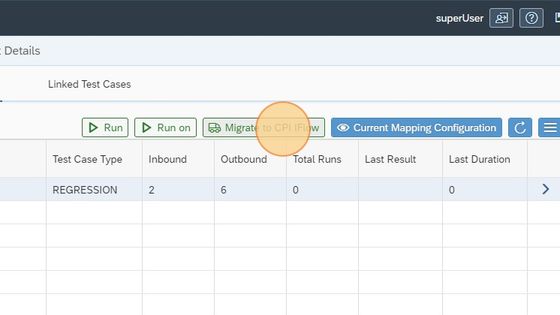
3. Select the test case you want to migrate.

4. Click "Migrate to CPI IFlow"
5. Click "Add to existing Test Suite"
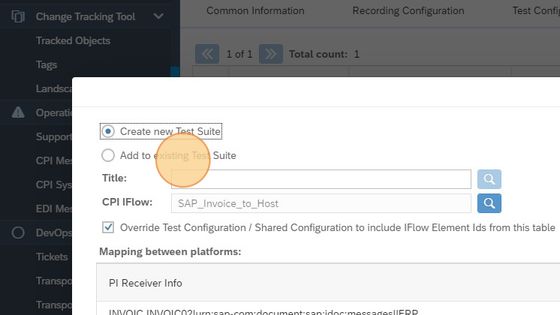
6. You can create the test case in a CI Related test case or just as here add it to the PI related case
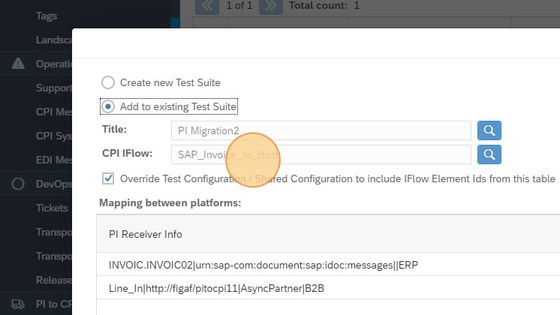
7. This scenario has been mapped with the help of our migration tool, so there exist meta data about how the articles should be mapped. If you have migrated in other ways you can easily perform the mapping selv by selecting this button.

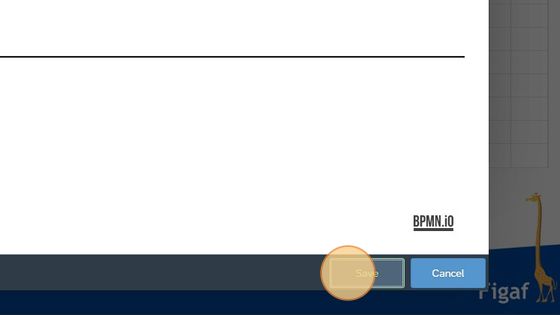
8. In the graphical view, you can select where you want to check the message. Click "Save"
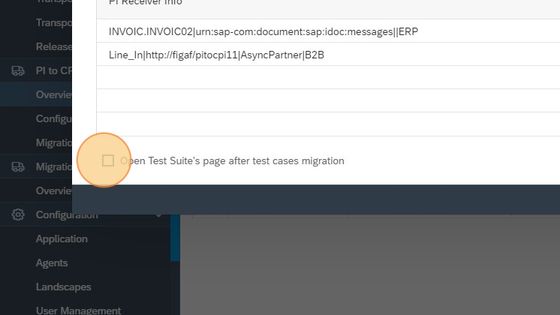
9. To open the Test Suite afterwards select this.
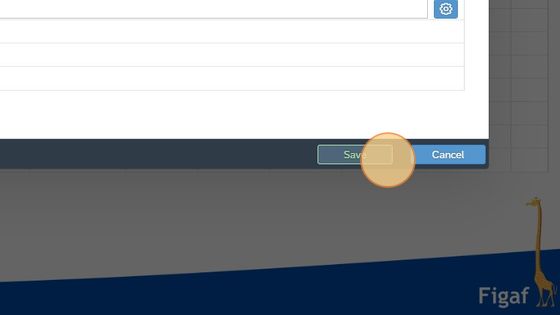
10. To complete the migration Click "Save"
11. Click "OK"

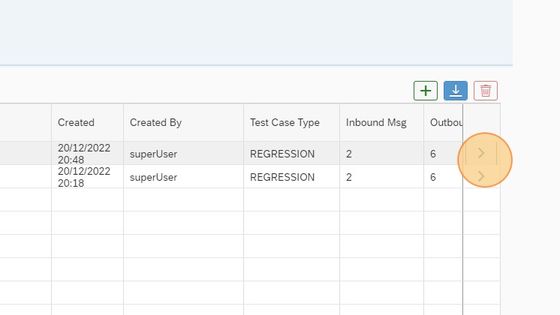
12. To open the test case, click arrow to the right.
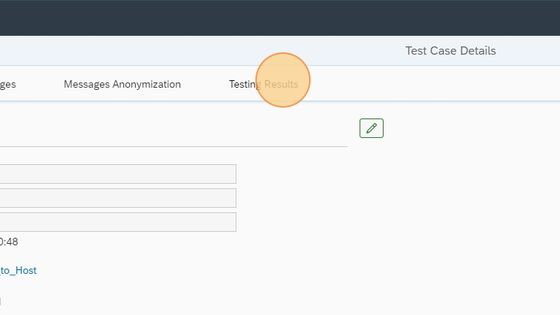
13. Click "Testing Results"
14. Click "Run"

15. Click "Request missing licenses". If you need the license you will need to click run again.

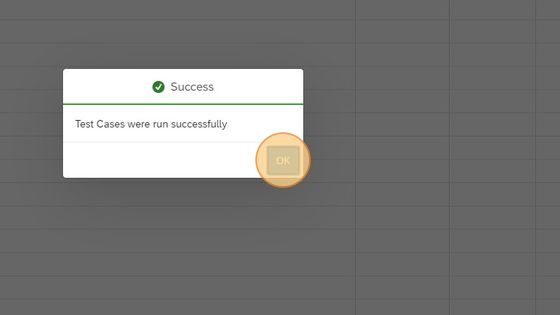
16. Click "OK"
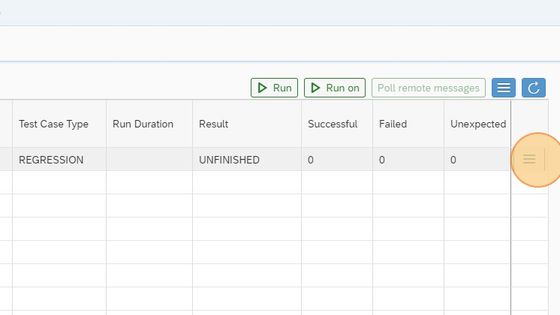
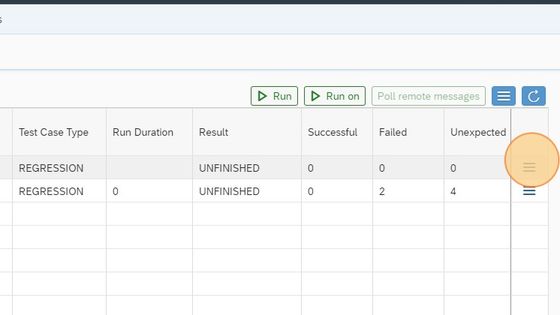
17. Click More icon.
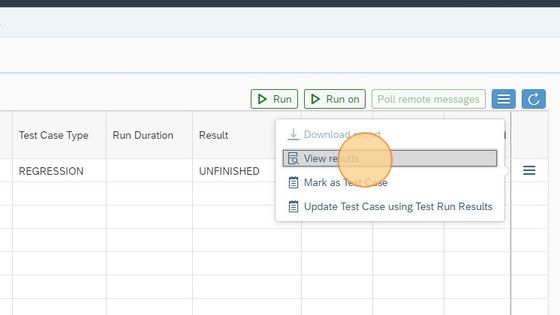
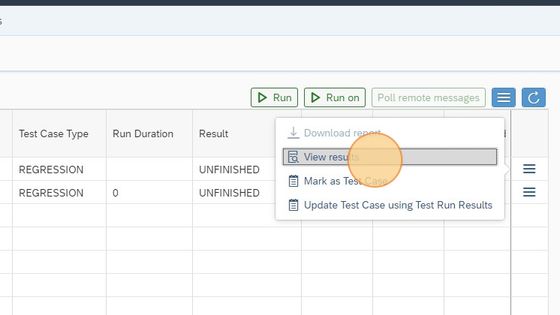
18. Click "View results"
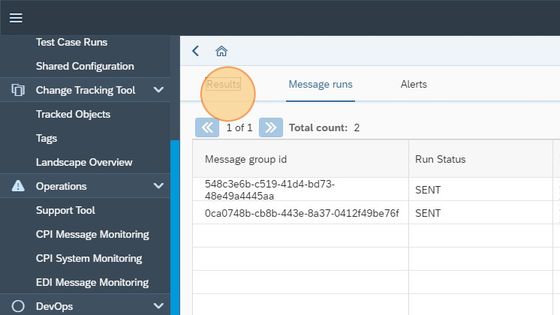
19. Likely, the first run will not work. To investigate select Message Runs.

20. Here you can see potential problems with the testing.

21. Go back to the testing results tab.
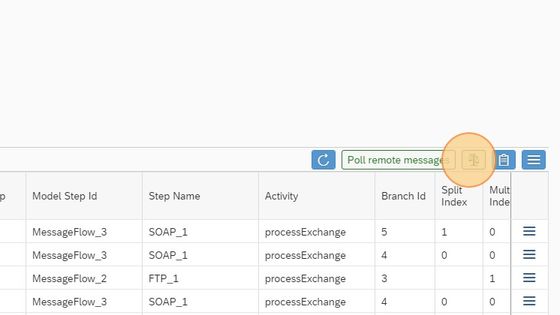
22. Click the refresh to see a check for messages. You may in some cases also click "Poll Remote Messages" if you don't see any data.

23. Here we have a problem because the original PI message contained order expressions. We will need them to configure here also.
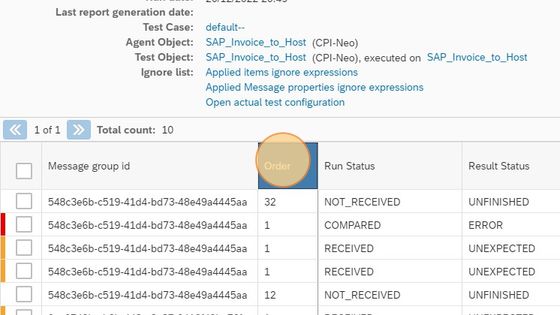
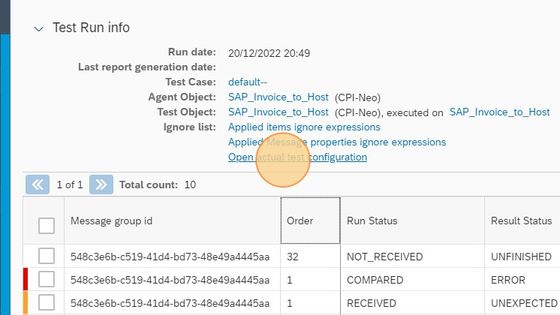
24. Click "Open actual test configuration"
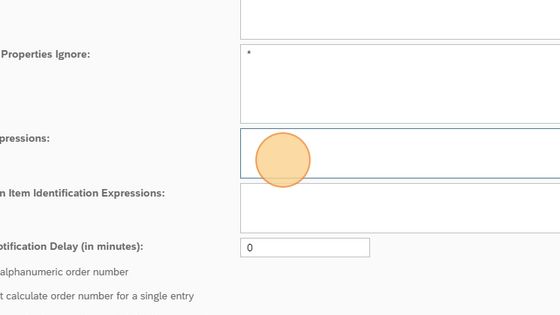
25. In the Order Expression insert the xpath in our case //ID
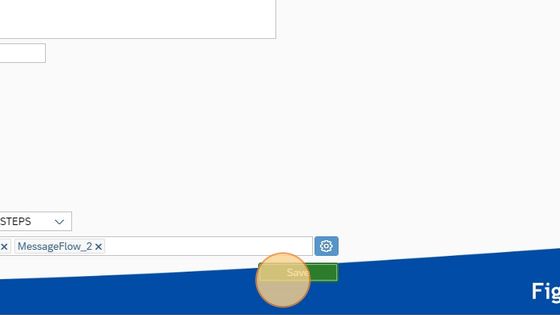
26. Click "Save"
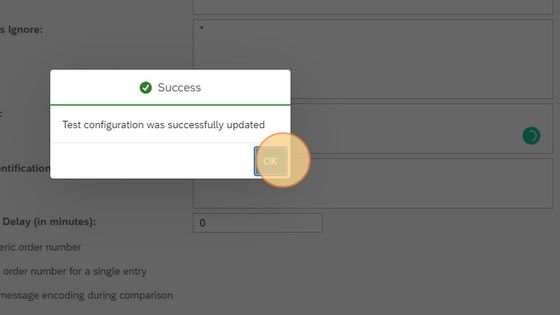
27. Click "OK"
28. Then go back

29. We will need to go back to resting result and trigger the processing again.

30. Run the test again

31. Click "OK"
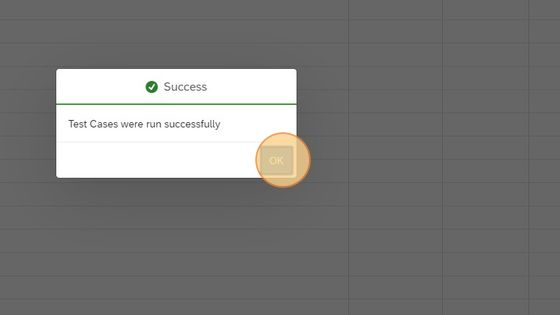
32. Go into to detail about the test case
33. Click "View results"
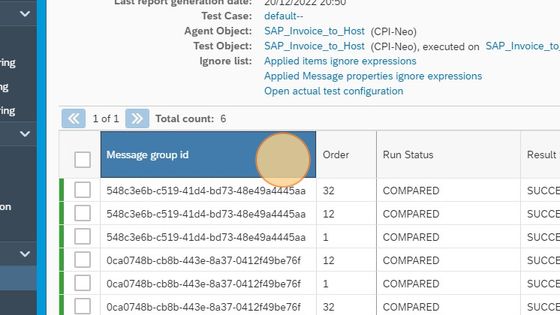
34. We now have successful messages except for two messages. Let's understand what the problem is with those. Click the icon at the end.

35. Click "Diffs"
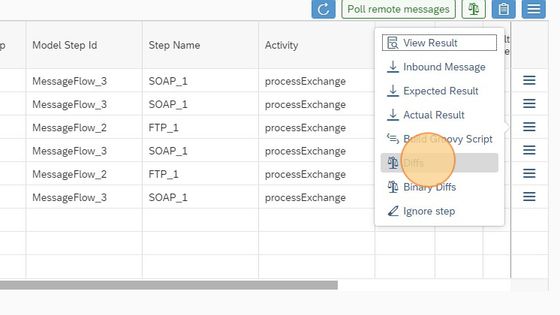
36. We can now see where in the XML there is a problem. If we click on the XML we get an Xpath that we can use to ignore.
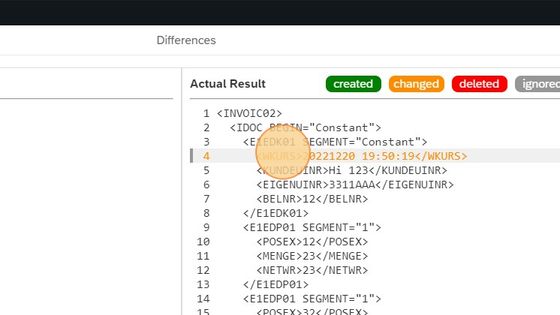
37. If the Xpath is good, Click "Yes." You can modify it to fit your needs.
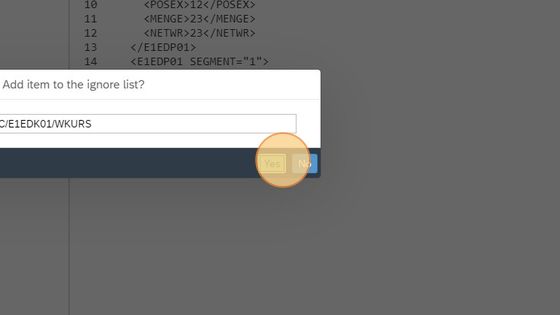
38. Click "OK"

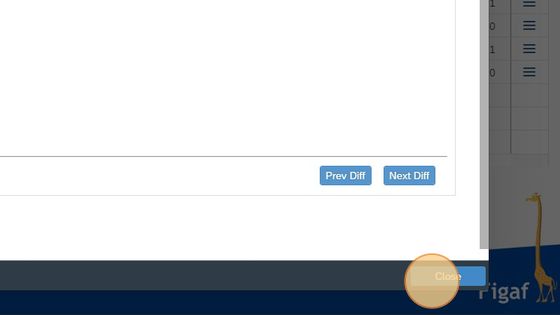
39. Click "Close"
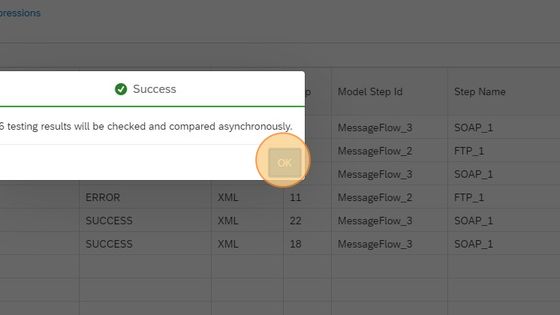
40. Now we can perform a comparison of the messages again. Click the scale.
41. Click "Process full comparison" or Skip only successful messages

42. Click "OK"
43. After refresh, you will hopefully see everything as a Success. Otherwise repeat.
Related Articles
Migrate SAP PI to Cloud Integration
How to migrate from SAP PI/PO to Cloud Integration using figaf. Before this you need to have configured both a PI and an Cloud Integration system. You will also need to have downloaded the templates to map PI Channels to Iflows. If you run on prem ...Guide Index
Installation Local installation of Figaf Install Figaf on server Configuration CPI Agent with s-user without Universal ID or Neo CPI with out s-user for CF Connect to Integration Suite PI Agent CPI DevOps Landscape creation Landscape evaluation ...Create a SAP PI Test case for the migration
Here you will create a new SAP PI/PO Test case that you can use for the migration 1. Go to the PI to CPI migration overview 2. Select the PI object you want to base your recording on. 3. Click "Record messages" 4. Type "PI Migration" 5. In the Test ...Create a SAP Cloud Integration Agent
Here we will show you how to connect to SAP Cloud Integration system. You can try with your S-User to connect. If it fails there is another option with services keys and custom IDP see more here ...Create a SAP PI to Integration Suite Migration
How do you setup the Figaf tool to handle your SAP PI/PO to Integration Suite. 1. Click "Overview" under the PI to CPI migration. 2. Click "Close" 3. On the configuration page select the PI systems you want to use as source 4. Then select the CI ...