Migrate SAP PI to Cloud Integration
2. To find a good the interface you want to check. You can filter using the PI object table. Click on the PI object
3. In the filter you can now add information about the object it can be sender system or interface
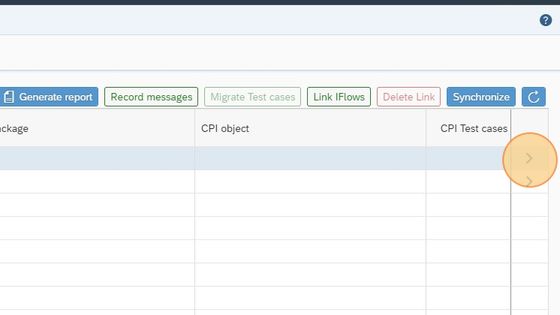
4. To migrate an object, click on the arrow for the ICO you want to migrate.
5. Select a package where you want the iFlow to be saved.
6. Enter the name of the iFlow you want to create.
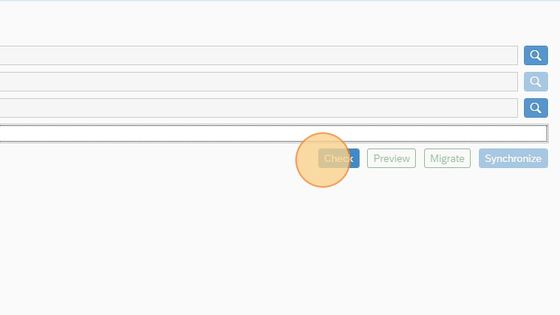
7. Click "Check". This will validate if everything is correct for the conversion of the object.
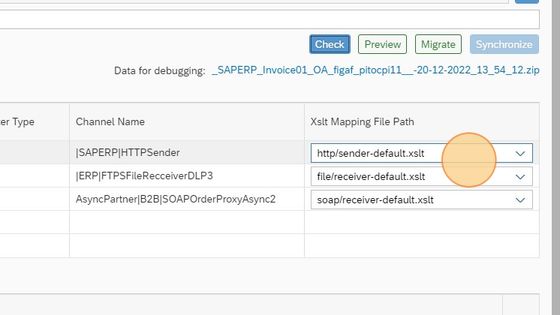
8. In this section you can see and change the XSLTs used to convert the mappings. If you don't see this you need to add the XSLT to your deployment.
9. Below you can see potential problems with the mapping process. You will need to check manually.
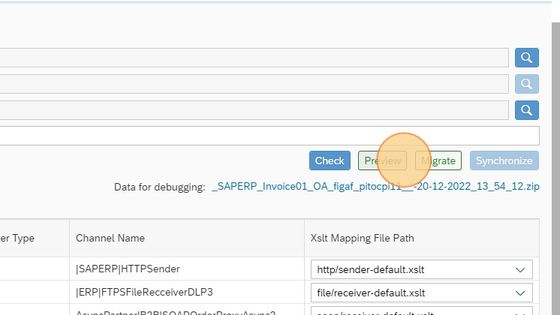
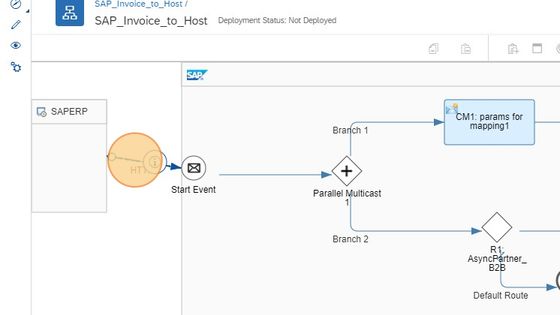
10. To view the iFlow generated Click "Preview"
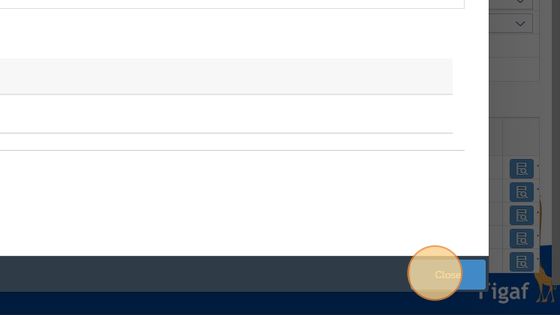
11. You can click around in the preview. Once done, click "Close"
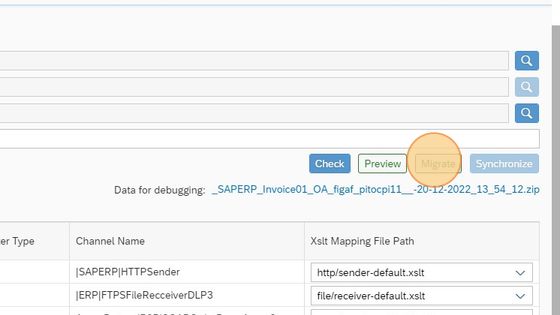
12. Now it is time to migrate. Click "Migrate"
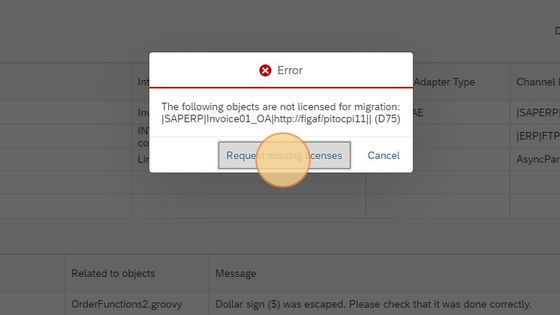
13. Click "Request missing licenses" if you have not migrated the iFlow before. Select the iFlow and click "Save". Then press "Migrate again".
14. IFlows is now migrated. Click "OK"
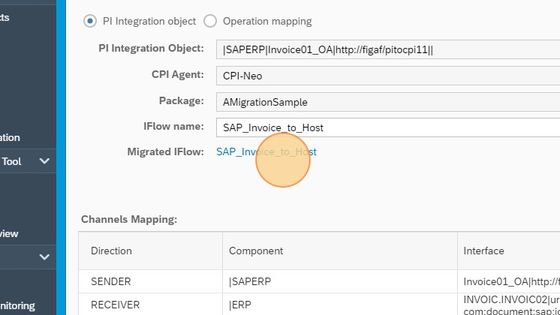
15. To open the iFlow click on the link.
16. Correct the different part of the flows like Sender Channel. Do check if everything is correct.
17. Once you have made all the required modifications, click "Save as version". And then "Deploy".
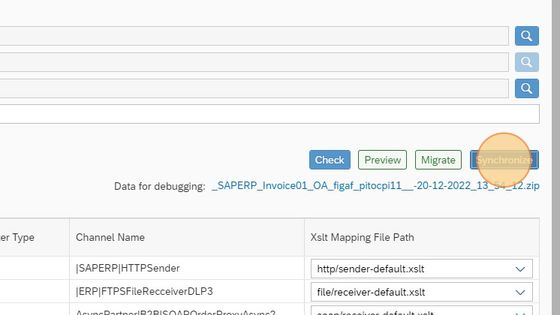
18. Go back to Figaf and press "Synchronize". Then we can capture the difference in Figaf and you can later start the testing.
19. Click "Synchronize"
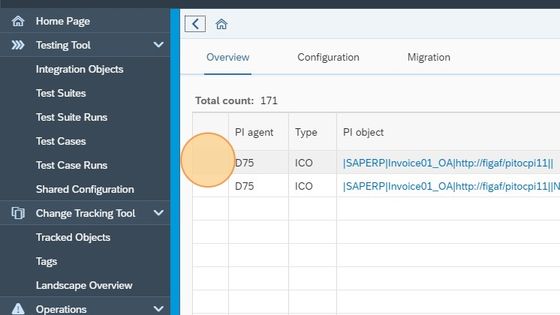
20. Go back to the overview screen.
21. Now you can see what has been migrated and what needs to be migrated later.
22. Switch to tab "Scribe | Workspace"
Related Articles
Migrate a SAP PI Test case to a Cloud Integration Test
You should have a PI Test case before starting 1. Go to your PI to CPI migration overview. And select the line with the PI object where you want to migrate. You will need to have migrated an object and a PI test case. 2. Click "Migrate Test cases" 3. ...Create a SAP Cloud Integration Agent
Here we will show you how to connect to SAP Cloud Integration system. You can try with your S-User to connect. If it fails there is another option with services keys and custom IDP see more here ...Guide Index
Installation Local installation of Figaf Install Figaf on server Configuration CPI Agent with s-user without Universal ID or Neo CPI with out s-user for CF Connect to Integration Suite PI Agent CPI DevOps Landscape creation Landscape evaluation ...Create a SAP PI to Integration Suite Migration
How do you setup the Figaf tool to handle your SAP PI/PO to Integration Suite. 1. Click "Overview" under the PI to CPI migration. 2. Click "Close" 3. On the configuration page select the PI systems you want to use as source 4. Then select the CI ...Create a SAP PI/PO Agent
An agent allows you to connect to a SAP system and work with it. 1. Go to your Figaf system. And select "Create Agent". Otherwise, you can find the access in the Menu Configuration - >Agents 2. Click "Step 2, Create Agent". 3. Click "Create Agent" 4. ...


